Painting a piano might sound daunting, but I promise it doesn’t have to be. Chalk painting this piano was so simple and quick. Follow along as I show you how to chalk paint a piano in 4 easy steps.

Unfortunately the paint color I used was leftover of a custom mixed color, so I can’t share what the color is because I really don’t know… But it’s kind of a warm beige color. Follow along to see my 4 tips on how to chalk paint a piano!
This post may contain affiliate links, which means I make a small commission at no extra cost to you.
Supplies
- Chalk Paint (this is my all time favorite paint for furniture)
- Clear Finish Coat (wax or liquid work)
- Paint Brush (Obsessed with this brush)
- Painter’s Tape
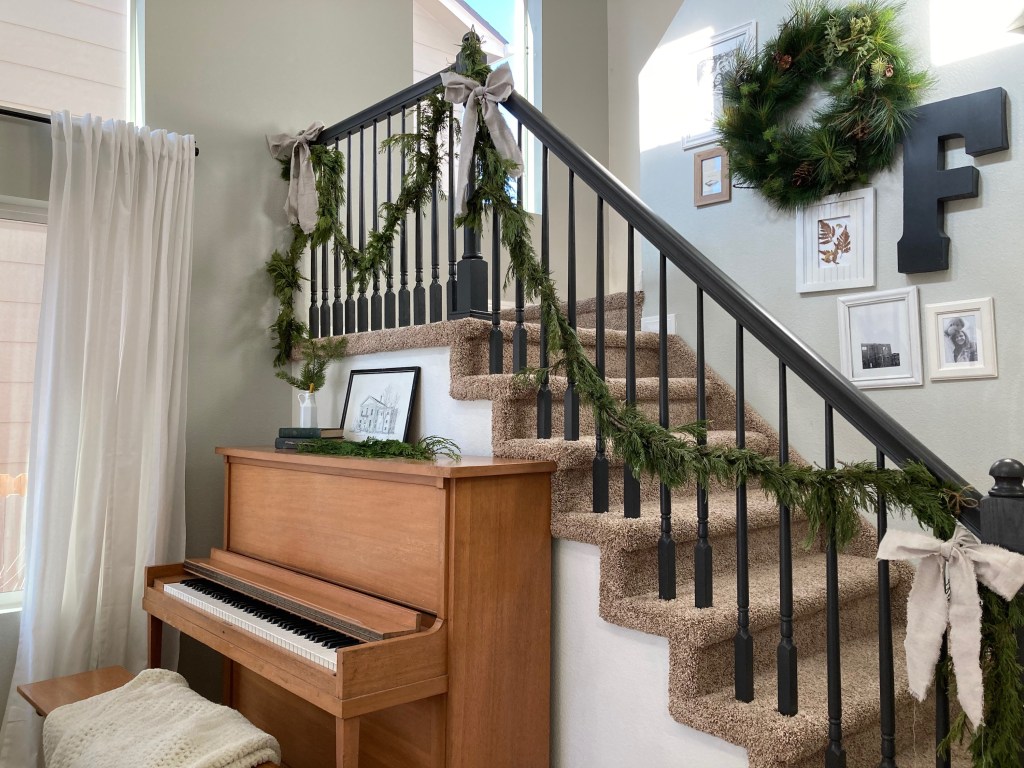
BEFORE
So I’ve been wanting a painted piano for years. At one point, my in-laws had mentioned that we could have theirs and gave me permission to paint it, so you better believe we took them up on it! I was sooo excited to have a piano (finally).
I grew up with a piano, and I feel like growing up, everyone else had one too. Just me? That’s a home staple I don’t want to see fade. I want to re-learn how to play and I want my kids to take lessons and know how to play piano as well.
VIDEO – HOW TO CHALK PAINT A PIANO
The question is… What color?
Typically I’d choose white, but I wanted to mix it up a little bit and do something warmer. It might end up white eventually, because let’s be honest… I paint everything white. But for now I’m really enjoying the beige-y color that I used.
Step #1 – Gather your Supplies
Above I’ve listed all of the supplies that you need to get started on this project. You honestly might have some of the needed supplies already.
This project is very beginner and not hard at all. The nice thing, too, is that once you have these supplies, you’re set up to do similar projects in the future. I love collecting tools for certain projects, because it usually makes my next project easier.
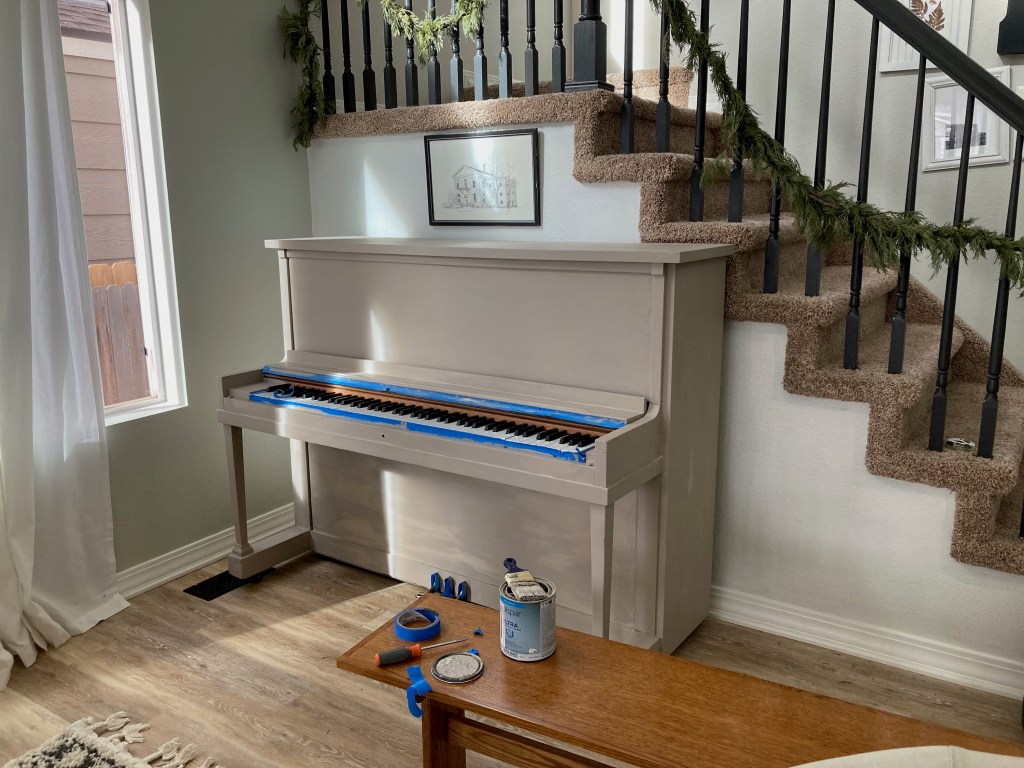
Step #2 – Prep (ish)
First, you’ll want to wipe everything down. After that, you’ll want to use the painter’s tape to tape off any parts that you don’t want paint on.
While chalk paint doesn’t necessarily require any prep, you do want to make sure the surface is smooth and clean so the paint sticks well. You’d be surprised at how many times I’ve painted a piece of furniture only to realize that there were pieces of clear Scotch tape now under the paint… Yay.
So definitely do a quick look over of the piece, wipe it down and get it ready for paint.
If for some reason your piece has any uneven spots or chunks missing, definitely sand the rough spots or use wood filler to fill in the missing parts. But otherwise, no prep required! Gotta love it.
Step #3 – Paint
That’s right, I said it. Paint! Go for it. Your piece should be prepped to paint if you followed step 2. YAY. This is the most exciting part.
A couple tips for painting…
- Only dip the tip of your brush in the paint (you don’t want your entire paintbrush covered, as it gets thick and gunky, and eventually causes your brush to not work as well).
- Always paint with the woodgrain (if there is one, if not just make sure to paint in the same direction)
- Make sure you let the paint dry thoroughly between coats
- Once your piece is fully covered, make sure to follow instructions and add a clear, protective coat.
With all of that said, take your time. Enjoy the process. Turn on some music and enjoy the ride.
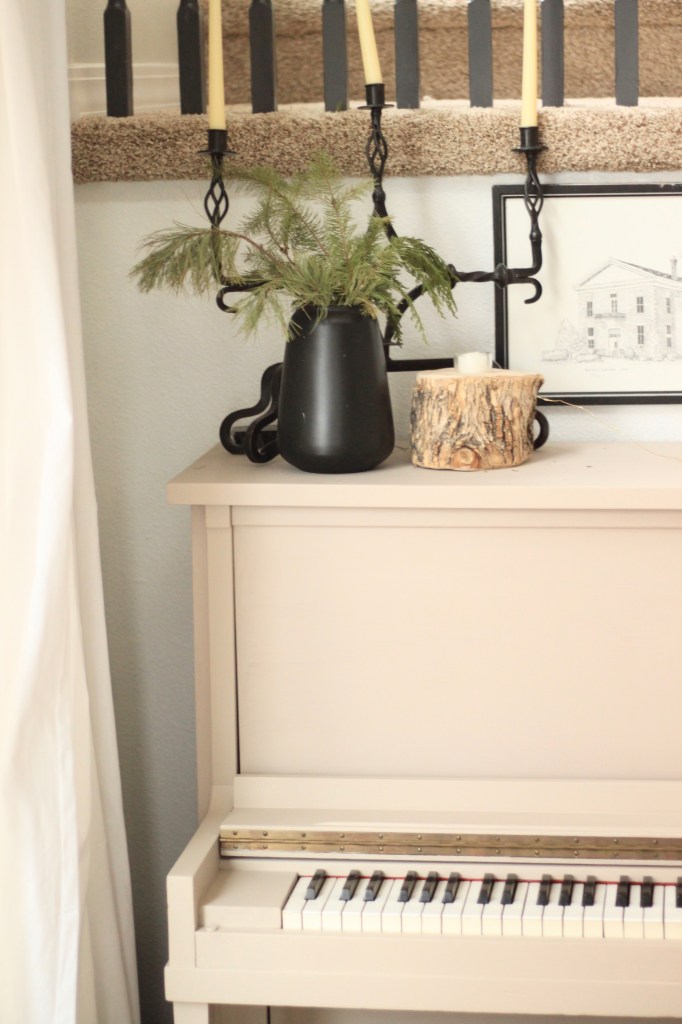
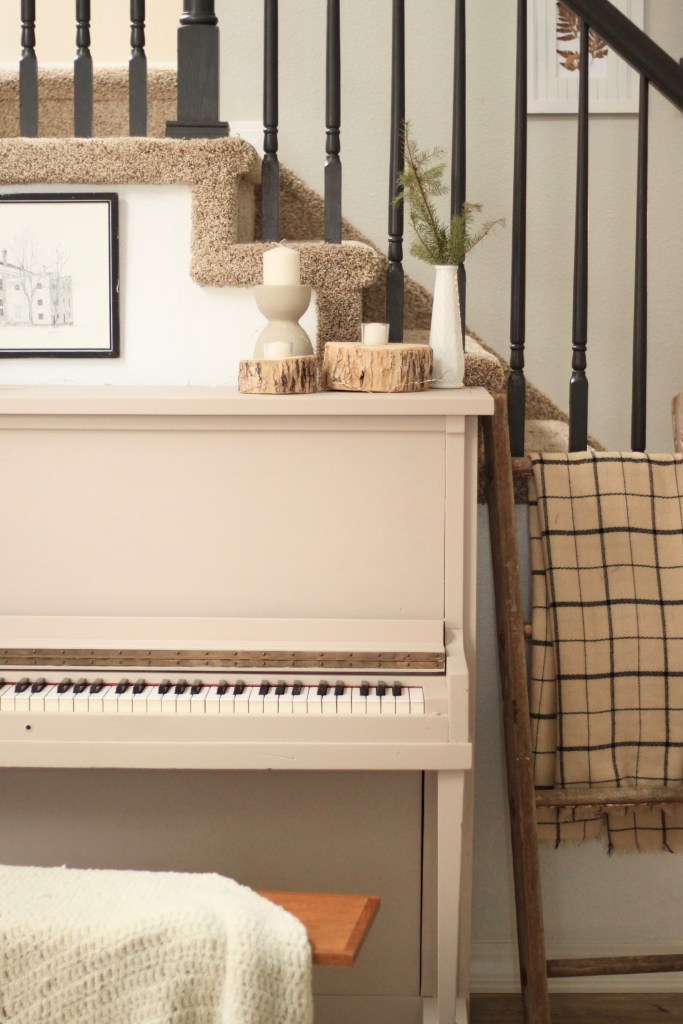
After
Loving the way this turned out!

If you liked this post, you might also like…
How to Chalk Paint for Beginners
How to Paint Furniture without Sanding
FAQ’s
Q: Can I sand my piece first?
A: Of course you can! It’s just not necessary with chalk paint. It’s one of the things that chalk paint boasts, minimal to no prep. Any prep you do will just help the paint to stick even better.
Q: Which do you prefer, wax and a clear coat?
A: I prefer the wax, as it has a matte finish and goes on easily. All you need is a clean rag to apply and then buff (make sure to follow the instructions on the product).
Q: Is chalk paint durable?
A: Is it indestructible? No, but if you follow the instructions and protect it with a finishing coat, it should hold up pretty well! I’ve had good success with it in the past.
So with chalk paint, you’ll want to wipe it down, tape off anything you don’t want paint on, and then PAINT! I love how chalk paint is so easy to use and I especially love the minimal prep required.
Thanks so much for reading! So glad you’re here. Pin below for later!
Pin for Later


Leave a Reply