There’s an expectation that painting furniture is complicated and takes a lot of prep. It doesn’t have to be that way. Follow along to see this DIY Side Table Makeover where I show you how to paint furniture without sanding.

Learning how to chalk paint furniture without sanding is super simple and cost effective. Check out this step by step process that’ll have you chalk painting in no time!
This post may contain affiliate links, which means I make a small commission at no extra cost to you.
VIDEO – HOW TO CHALK PAINT FURNITURE WITHOUT SANDING
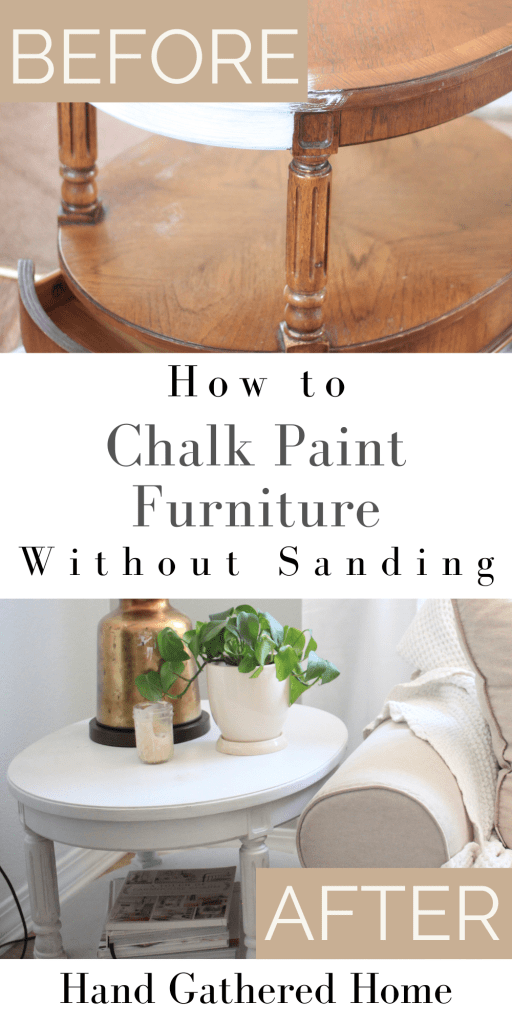
Before
When I found this little side table at the thrift store, I was immediately sold on its unique shape and details. I mean, the price wasn’t bad either… $11.99? Yes, please. There isn’t much I love more than a bargain.
I shoved this side table in my car, brought it home and gave it some new life. It was quick, simple and affordable. Oh and it turned out really cute, if I do say so myself. Check out the process I used to learn how to chalk paint furniture for yourself too. It’s a quick and easy way to transform a tired piece.

This post may contain affiliate links, which means I make a small commission at no extra cost to you.
SUPPLIES
For this project, you don’t need much. Just a few items. The beautiful thing about this project, too, is that all of these items should last you more than one project, so next time you go to paint a piece of furniture (or anything really), you’ll be ready to go! Doesn’t get better than that.
Included in my supply list are just 4 items. Of course, I’m assuming you have a screwdriver already at home. You might also have a paintbrush, but I’m telling you… this one is better. I seriously love it so much. The short handle makes it so easy to maneuver. It’s also a soft handle, so it’s more comfortable to hold. Anyway, try it for yourself.
Rustoleum Linen White Chalked Paint
Rustoleum Clear Chalked Paint (finishing coat)
And that’s it, folks. Follow the steps below to tackle your own chalk paint project.

#1 – Wipe down your piece
While you don’t have to sand, it’s important that the surface is clean and dry, in order for the paint to adhere well. Make sure there’s no residue leftover from any stickers or price tags.
#2 – Remove any Hardware
This step always seems tedious to me, but it’s worth it to achieve a nice, clean and finished look. Go ahead and remove your hardware, put the screws back into the hardware and set them aside. Ideally somewhere you can find them later 😉
#3 – Paint
Yup. The next step is to paint your piece. Go for it! Make sure to paint with the grain and let the first coat dry before you attempt a second coat. Chalk paint boasts one coat coverage, but I find that most of the time I like to go back over the piece with a light second coat for optimal coverage.
You can see another chalk paint project of mine in this post, How to Chalk Paint Furniture for Beginners.
#4 – Wax or Clear Coat
To protect your project, you’ll want to go over the paint with a wax or clear coat. This just helps to protect your finish and keep your piece looking great longer. I usually use a clear coat, simply because that’s what I have on hand. But a wax works well too.
It’s as simple as that! Wipe down, remove hardware, paint with the grain and then finalize the piece with a wax or clear coat. If you follow this process, you’ll be chalk painting all sorts of furniture in no time. Thanks so much for reading! Pin for later below.
Pin for Later

Leave a Reply