Hand Gathered Home

  • Our Home
    • Front Porch
    • Entryway
    • Living Room
    • Kitchen
    • Dining Room
    • Master Bedroom
    • Bathroom
    • Nursery
    • Kid Rooms
  • Shop Our Home
  • Shop My Favorite Things
  • Shop My Amazon Storefront
  • Virtual Design Services
    • Meet the Team
    • Portfolio
  • About
    • Disclosure and Privacy Policy
  • Videos

DIY Simple Open Shelving for Book Storage

Projects

29 Mar
5 shares
  • Share
  • Tweet
Add easy storage to your space with this DIY Simple Open Shelving how-to. It’s perfect for toy storage, books, or even just decor.
DIY open shelves

This post may contain affiliate links at no extra cost to you. Please read our Disclosure Policy.

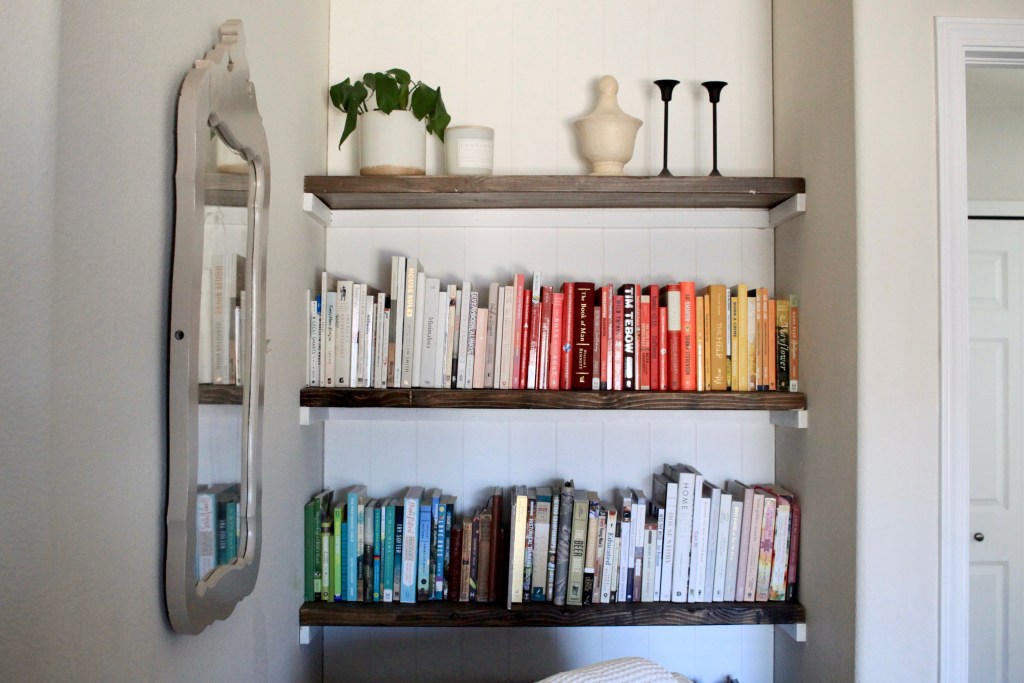
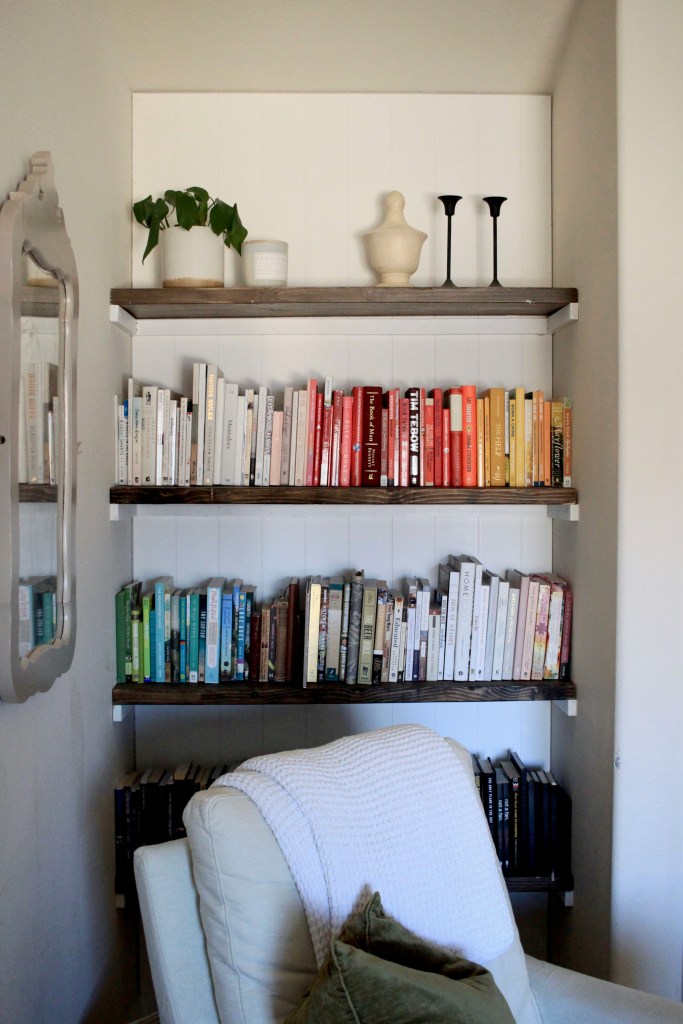
There’s a small niche in the sitting room of our Master Bedroom, and it’s always felt like it needed something. While I would’ve loved to do something more intricate, I decided to take some scrap wood and make some simple open shelving. It was a quick project that took maybe 2 hours, and very little budget (as we already had a lot of the wood).

I’m SO glad we did! I’m not even sure where all of these books were prior to these shelves. But the shelves are full and have been so useful.

Before

This was the niche before, and while I knew it had potential to be charming, it was just bland and nothing fit right in there.

Before DIY Open Shelving

Supplies

To make these shelves, you’ll need…

  • Liquid Nails
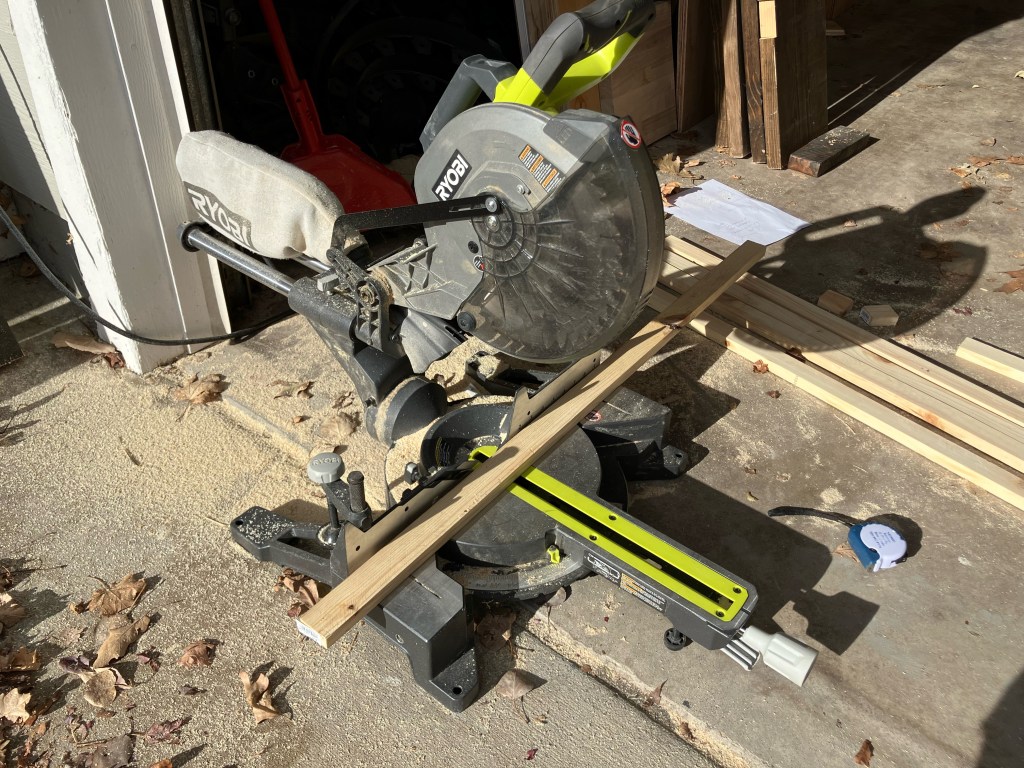
  • Saw (we used a Miter saw)
  • Nail Gun (or a drill would work too)
  • Hammer
  • Screwdriver
  • Level
  • Stud Finder
  • Pen or Pencil
  • Foam roller
  • Paint or Stain
  • Ladder
diy floating shelves 4

How to DIY Simple Open Shelves

First, we measured and cut all of our supports. We cut 2 different size supports – 1 size for the back support and 1 size for the sides of each shelf.

When we pieced all of these together, it made a “U” shape for the support.

diy floating shelves

Paint and Prep

After we cut them to size, we lined up the supports and painted them with a foam roller. I wanted them to be painted ahead of time, because I knew in the long run it would save us time and be quicker getting the shelves up. Even though it is one more step before getting the shelves built, I think it’s worth it.

Once these were painted, we let them dry thoroughly. The wood we used for the shelves was already stained, so we left them as is. But if you are painting or staining your shelf wood, now would also be the time to do that.

diy floating shelves

Install the Supports

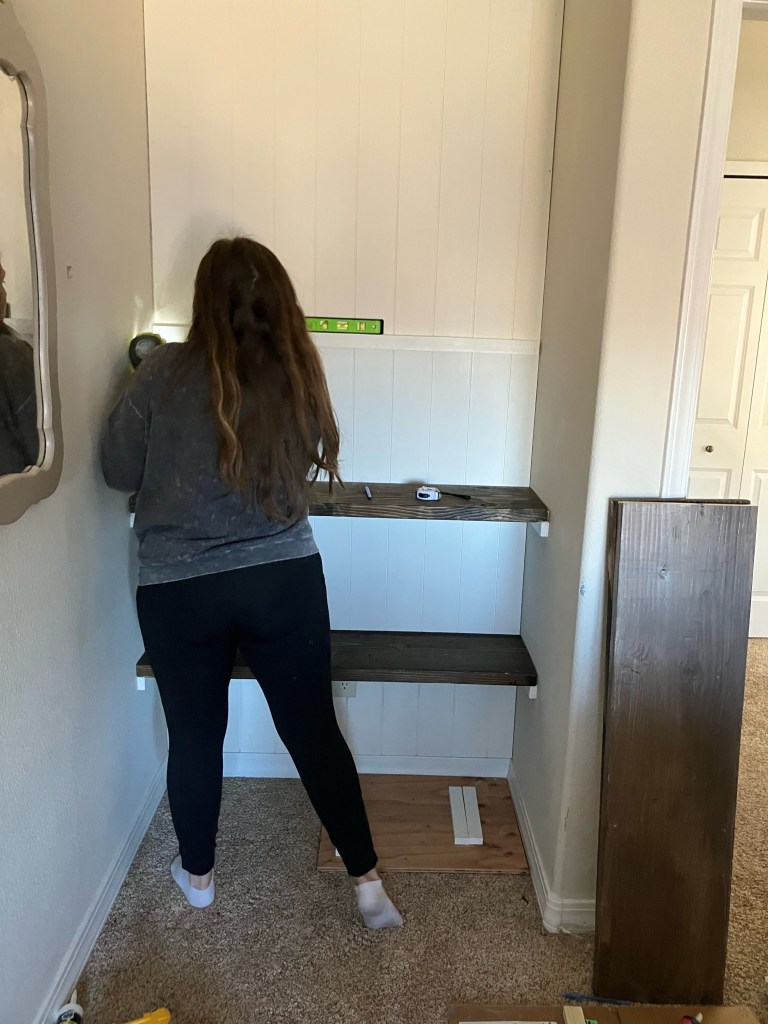
In order to install the supports, we decided to use “Liquid Nails” first on the back of each support piece and then a nail gun to secure it to the wall. We could’ve also used screws, but we just didn’t.

First, I measured where I wanted the shelf and marked it with a pen. Then I took the back/longer support piece, covered the back in Liquid Nails, and put it in place with the level on top. I made sure it was level before nailing it in. Repeat this process with the side supports as well.
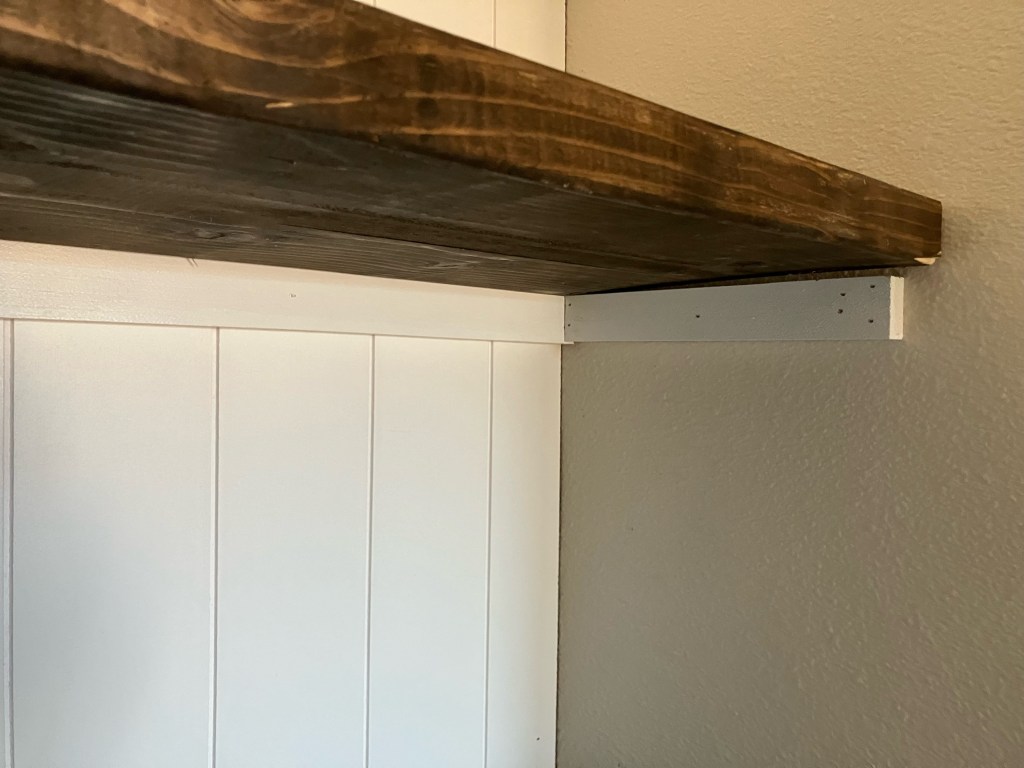
diy floating shelves

Add the Shelf

Once your shelf supports are secured, you can add the shelf on top. We decided not to nail the shelf to the supports, simply because they were tightly wedged into the niche and we have no concerns about them shifting at all.

If you’d like to secure them to the supports, just add some liquid nails or nail them in with the nail gun.

DIY floating shelves

Repeat the Process until Complete

Keep doing this until you finish the shelves.

Once your shelves are complete, you’ll want to fill nail holes.

If your supports are painted, you’ll want to use spackle or wood filler to fill the holes, then sand until smooth, and then touch up the paint.

If your supports are stained, you could probably more easily get away with leaving the nail holes. But you could also use wood filler, sand it until smooth, and then touch up the stain the same as the rest of the supports.

DIY open shelves

Pin for Later

DIY Open Shelving

Share this:

  • Click to share on Facebook (Opens in new window) Facebook
  • Click to share on Pinterest (Opens in new window) Pinterest
  • Click to print (Opens in new window) Print

Leave a Comment

About Alleigh

« Easy No Sew Cafe Curtains
How to Make Homemade Whipped Cream Without Sugar »

Leave a Reply Cancel reply

Your email address will not be published. Required fields are marked *

Recipe Rating


So glad you’re here!

Hi! I’m Alleigh. I’m a mom to my two sweet little boys, and wife to a very supportive husband. I’m so glad you’re here! Join me and my little family as we get our hands dirty and add life & personality to our home to create a place that we love.

Find more about me here

Let’s Connect

  • Instagram
  • Pinterest

On Instagram

handgatheredhome

I was trying to post this with original audio of m I was trying to post this with original audio of me explaining each item and my thoughts on the price etc etc but apparently I don’t have that capability yet on IG… so, enjoy this reel and just know that I had a lot more to say. 😂
A little IG vs reality for ya. Swipe to see the mo A little IG vs reality for ya. Swipe to see the more realistic view (which is really not bad at all 😂).
I feel like my house is just constantly a mess, no matter how hard I try. Anyone else? It feels like I’m always behind, and to be honest, it bothers me a lot. It overwhelms me and stresses me out. It keeps me from being content and present. Between things constantly being broken (hello middle child) and just too much stuff in general.
Here’s what I’m working on to simplify and calm the chaos.
1. I’ve been removing all toys that don’t get played with often. We currently have magnatiles, Duplos, and race cars out. The rest have been moved to storage in the basement for the moment. We’ll see what we keep as my kids do sometimes notice toys they’re missing and ask for them.
2. I’ve been ruthlessly getting rid of stuff - whether donate or trash. If we don’t absolutely love it, or we have multiples, or no one touches it, or we have a huge pile of random papers and crafts. Gone. 😂 it’s so relieving.
3. I often have artwork and decor laying around because I don’t fully know where it’s going yet. I’ve been removing anything that doesn’t serve a purpose and have been putting it in basement storage. No point having it sit there and clutter. I’ll go get it when I’m ready to hang the picture or use the decor.
4. I’ve been re-assessing where we need more storage. I replaced a dresser that didn’t functional well with a $50 homeschool cabinet from FB marketplace and it’s been so much better.
5. As I remove things from our every day view, I’m noticing the ability to better enjoy the everyday messes and real life, because it isn’t so out of control and overwhelming.

I hope this is encouraging for mamas in the same boat ✨
Enjoying our last flower harvest of the season ✨ Enjoying our last flower harvest of the season ✨
My weekend project ✨ We spent a lot of time in o My weekend project ✨
We spent a lot of time in our front yard, but never really on our porch. I bought this porch paint months ago and finally got it done! Now our porch is a cozy place to sit ✨ Inspired by @mustardseedbeginnings super cute porch.
These frames have been sitting empty for a while n These frames have been sitting empty for a while now… I went to order some prints for them the other day, and I didn’t like the price. SO I decided I was going to make my own art for them. I found a fabric remnant at a local thrift store for $0.99 cents and voila. Took all of 5 mins ✨
Such a fun, special day 🤍 Notice the new toys s Such a fun, special day 🤍
Notice the new toys scattered everywhere 😂
Antiques all day long 🤍 Exciting changes happen Antiques all day long 🤍
Exciting changes happening here at Hand Gathered Home. More to come ✨
Since everyone is saying how social media is fake… here’s some real real life for ya 🙃

Copyright © 2025 · Refined theme by Restored 316

5 shares
 

Loading Comments...