Hand Gathered Home

  • Our Home
    • Front Porch
    • Entryway
    • Living Room
    • Kitchen
    • Dining Room
    • Master Bedroom
    • Bathroom
    • Nursery
    • Kid Rooms
  • Shop Our Home
  • Shop My Favorite Things
  • Shop My Amazon Storefront
  • Virtual Design Services
    • Meet the Team
    • Portfolio
  • About
    • Disclosure and Privacy Policy
  • Videos

How to Chalk Paint Furniture for Beginners

Projects

28 Aug
19 shares
  • Share
  • Tweet
Let’s walk through the basics of how to get started painting furniture with chalk paint. We’ll go over where to find furniture, how to prepare it for paint, how to paint and how to finish it for longevity.
How to Paint Furniture Using Chalk Paint - No Prep Needed

This post may contain affiliate links at no extra cost to you. Please read our Disclosure Policy.

Supplies

Rustoleum Chalked Paint

Rustoleum Chalked Paint Clear Coat (you could also use a clear wax like this)

Screwdriver (for handles and opening paint)

Chalk Paint Brush or this is my favorite brush

Where to Find Furniture to Paint

I find my furniture many different places, including Facebook Marketplace, thrift stores and sometimes even garage sales. You might already have a piece you’re wanting to paint, but if you’re wondering where to find a piece for a fun little project, definitely check FB Marketplace first, since you don’t even have to leave your house.

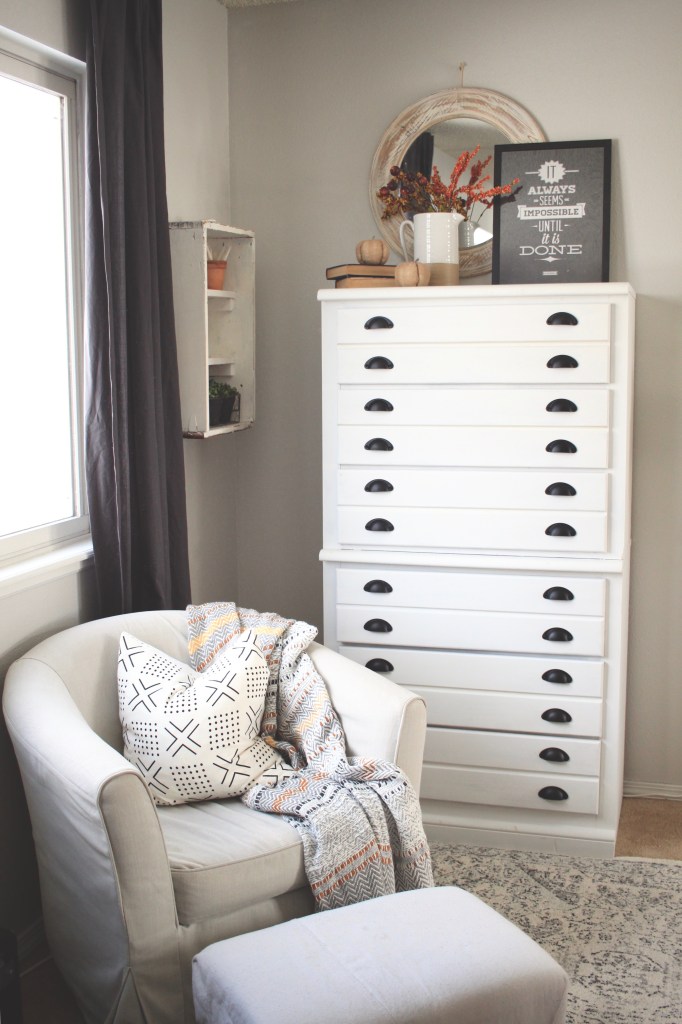
Years ago, I found this Ethan Allen Dresser on FB Marketplace. I loved that it looked like an old card catalog, but was only partially solid wood. Since refinishing it wasn’t an option, I decided to paint it.

How to Paint Furniture Using Chalk Paint - No Prep Needed

How to Prep the Furniture

You’ve maybe heard that you don’t have to prep before chalk painting. While that’s mostly true, there are a few steps you might want to take to get a better finish.

First, you’ll want to wipe your piece down and let it dry. Make sure there’s nothing sticky or raised, because that will show through when you paint and will make your finish look rough and bumpy.

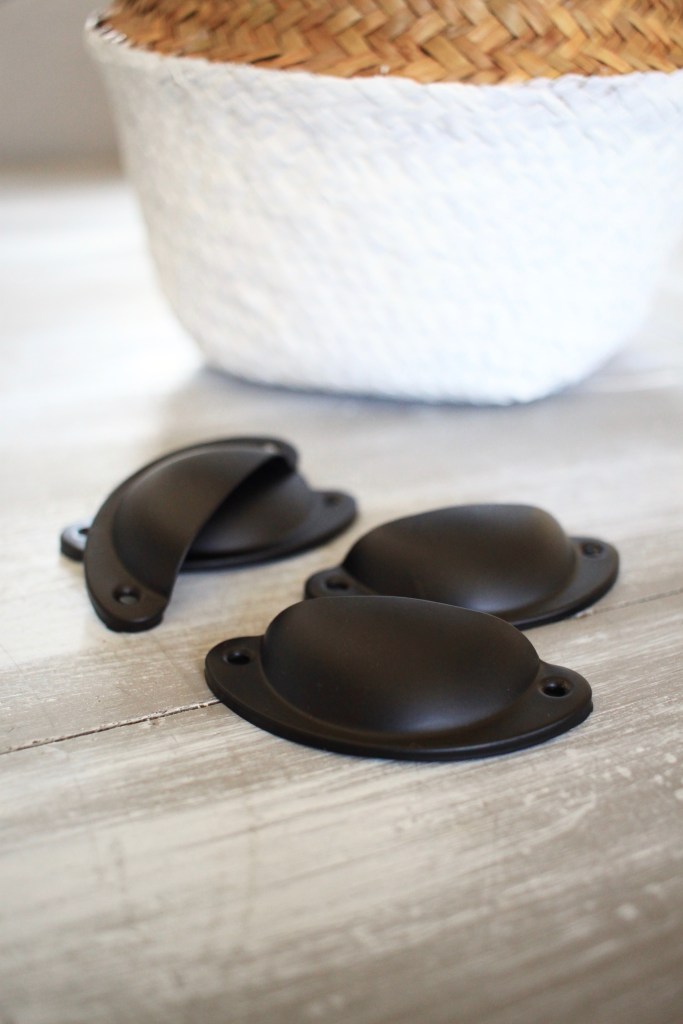
Next, you’ll want to remove any and all hardware. If you’re keeping the same hardware or replacing them with hardware that has the same width between the holes, that’s all you have to do. However, if you’re replacing the hardware with different hardware that has different hole spacing, you’ll want to fill the holes and make sure that’s smooth before moving on.

For this piece I bought replacement handles with the same hole spacing, so I didn’t need to fill any holes.

Time to Paint

I really like the Rustoleum Chalked Paint. I believe Lowe’s carries it, but I’ve purchased it on Amazon in the past. I find that this paint covers really well and is really easy to work with.

For painting, I like to put it on thick enough to almost cover the piece in one coat. I find that it’s best to do 1.5 coats. In my experience, one coat just isn’t enough to fully cover it.

How to Paint Furniture Using Chalk Paint - No Prep Needed

PRO TIP – When you’re painting furniture, you always want to go with the grain. That’s going to give you a smooth, polished look.

How to Paint Furniture Using Chalk Paint - No Prep Needed

Add a Clear Coat

Chalk paint has a “chalky” finish, believe it or not. Just painting the piece will leave your surface feeling very chalkboard like and unfinished. You’ll want to add a clear coat to protect it and give it a more finished feel.

When using the Rustoleum Chalked Paint, I like to use the clear coat that goes with it. This Rustoleum Chalked Paint Clear Coat is a great option.

Another option is a clear wax like this. Either will work, so this is really just a preference thing.

You can do one coat or multiple coats of the protective finish. If you’re painting something like an entry table that won’t see much traffic, you could probably get away with one coat, versus something like a nightstand will need more coats to truly be protected.

Put Hardware Back On

Go ahead and put the hardware back on and voila! All done.

How to Paint Furniture Using Chalk Paint - No Prep Needed

FAQ’s

Do I need to sand first?

If your piece is uneven on the top or there are any major scratches or scuffs that you don’t want, I would sand it (and probably fill it too) just to get a smooth finish. You don’t need to sand it in order for the paint to adhere well though.

Can I paint laminate furniture using chalk paint?

Yes. I’ve never had issues with chalk paint sticking to laminate. I would consider sanding in this case, simply to scuff up the surface just the slightest, in order to ensure the paint sticks extra well. Another option would be to use a bonding primer first, just to be extra sure it all adheres well.

Do I have to use a clear coat?

I suppose it’s up to you, but I would. Chalk paint has such a chalky finish that it would drive me a little nuts anytime I heard that nails on a chalkboard sound. And the feel would give me goose bumps personally. It’s a quick final step that will take you minutes and you’ll be so glad you did it!

Can I mix my own chalk paint colors?

While I’ve never done it myself, I’ve seen people add different paint (even acrylic craft paint) to chalk paint to make their own custom colors.

Pin for Later

Share this:

  • Click to share on Facebook (Opens in new window) Facebook
  • Click to share on Pinterest (Opens in new window) Pinterest
  • Click to print (Opens in new window) Print

Leave a Comment

About Alleigh

« How to Make Homemade Whipped Cream Without Sugar
How to Make Extra Cash Flipping Furniture without Refinishing Anything »

Leave a Reply Cancel reply

Your email address will not be published. Required fields are marked *

Recipe Rating


So glad you’re here!

Hi! I’m Alleigh. I’m a mom to my two sweet little boys, and wife to a very supportive husband. I’m so glad you’re here! Join me and my little family as we get our hands dirty and add life & personality to our home to create a place that we love.

Find more about me here

Let’s Connect

  • Instagram
  • Pinterest

On Instagram

handgatheredhome

I was trying to post this with original audio of m I was trying to post this with original audio of me explaining each item and my thoughts on the price etc etc but apparently I don’t have that capability yet on IG… so, enjoy this reel and just know that I had a lot more to say. 😂
A little IG vs reality for ya. Swipe to see the mo A little IG vs reality for ya. Swipe to see the more realistic view (which is really not bad at all 😂).
I feel like my house is just constantly a mess, no matter how hard I try. Anyone else? It feels like I’m always behind, and to be honest, it bothers me a lot. It overwhelms me and stresses me out. It keeps me from being content and present. Between things constantly being broken (hello middle child) and just too much stuff in general.
Here’s what I’m working on to simplify and calm the chaos.
1. I’ve been removing all toys that don’t get played with often. We currently have magnatiles, Duplos, and race cars out. The rest have been moved to storage in the basement for the moment. We’ll see what we keep as my kids do sometimes notice toys they’re missing and ask for them.
2. I’ve been ruthlessly getting rid of stuff - whether donate or trash. If we don’t absolutely love it, or we have multiples, or no one touches it, or we have a huge pile of random papers and crafts. Gone. 😂 it’s so relieving.
3. I often have artwork and decor laying around because I don’t fully know where it’s going yet. I’ve been removing anything that doesn’t serve a purpose and have been putting it in basement storage. No point having it sit there and clutter. I’ll go get it when I’m ready to hang the picture or use the decor.
4. I’ve been re-assessing where we need more storage. I replaced a dresser that didn’t functional well with a $50 homeschool cabinet from FB marketplace and it’s been so much better.
5. As I remove things from our every day view, I’m noticing the ability to better enjoy the everyday messes and real life, because it isn’t so out of control and overwhelming.

I hope this is encouraging for mamas in the same boat ✨
Enjoying our last flower harvest of the season ✨ Enjoying our last flower harvest of the season ✨
My weekend project ✨ We spent a lot of time in o My weekend project ✨
We spent a lot of time in our front yard, but never really on our porch. I bought this porch paint months ago and finally got it done! Now our porch is a cozy place to sit ✨ Inspired by @mustardseedbeginnings super cute porch.
These frames have been sitting empty for a while n These frames have been sitting empty for a while now… I went to order some prints for them the other day, and I didn’t like the price. SO I decided I was going to make my own art for them. I found a fabric remnant at a local thrift store for $0.99 cents and voila. Took all of 5 mins ✨
Such a fun, special day 🤍 Notice the new toys s Such a fun, special day 🤍
Notice the new toys scattered everywhere 😂
Antiques all day long 🤍 Exciting changes happen Antiques all day long 🤍
Exciting changes happening here at Hand Gathered Home. More to come ✨
Since everyone is saying how social media is fake… here’s some real real life for ya 🙃

Copyright © 2025 · Refined theme by Restored 316

19 shares
 

Loading Comments...